_edited.png)

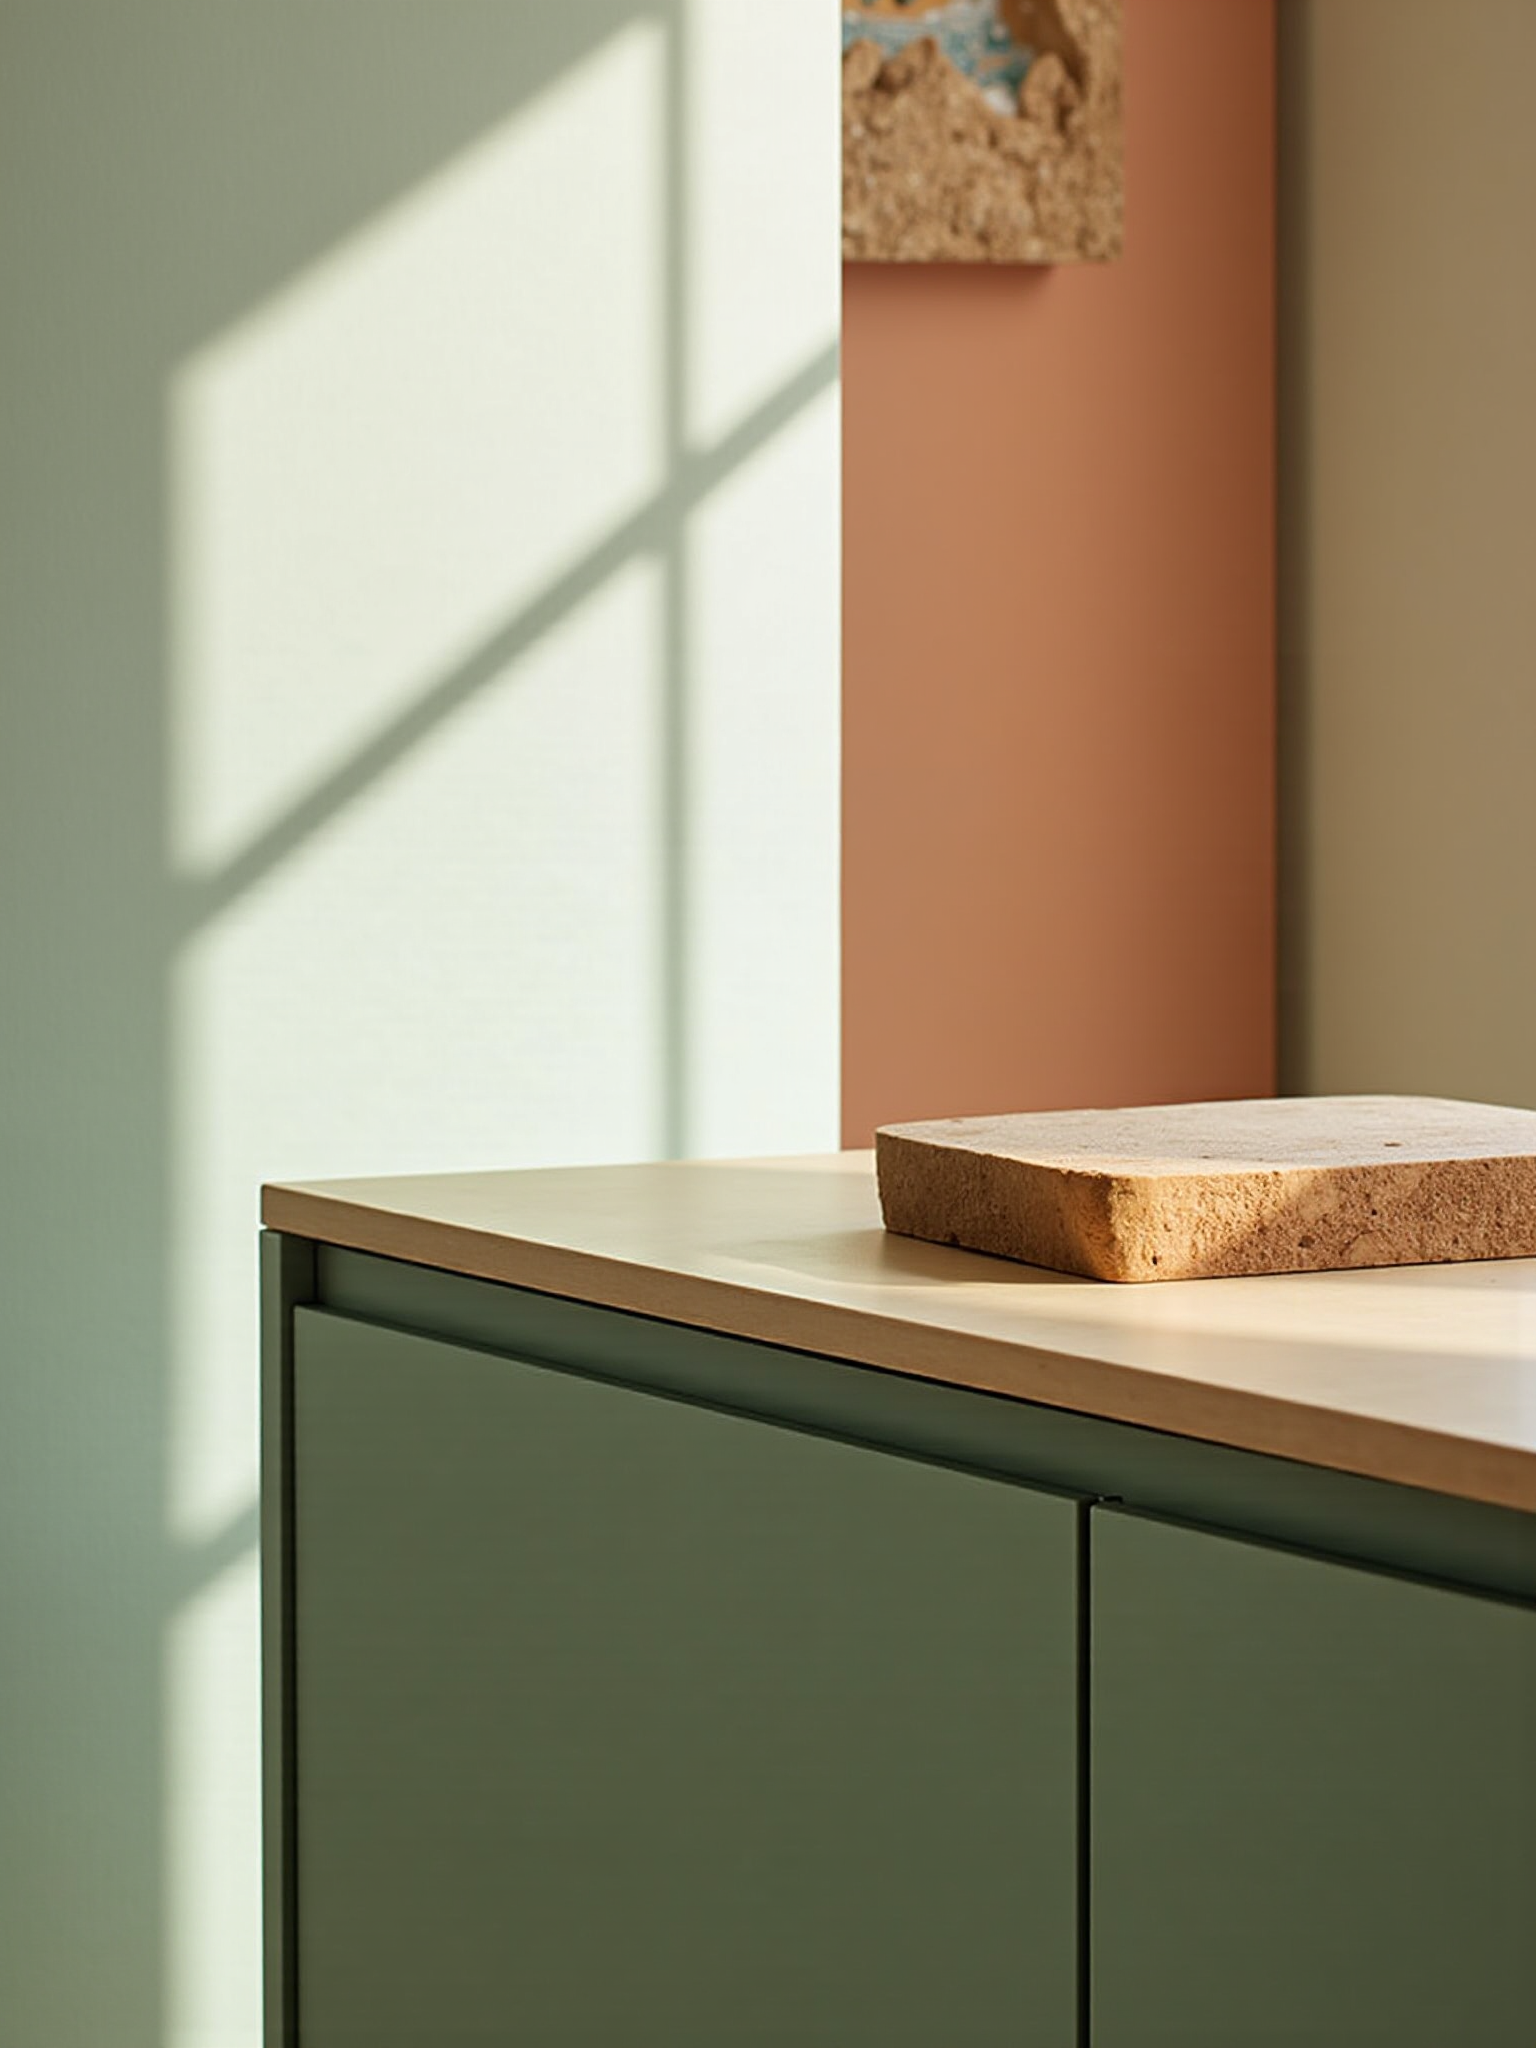
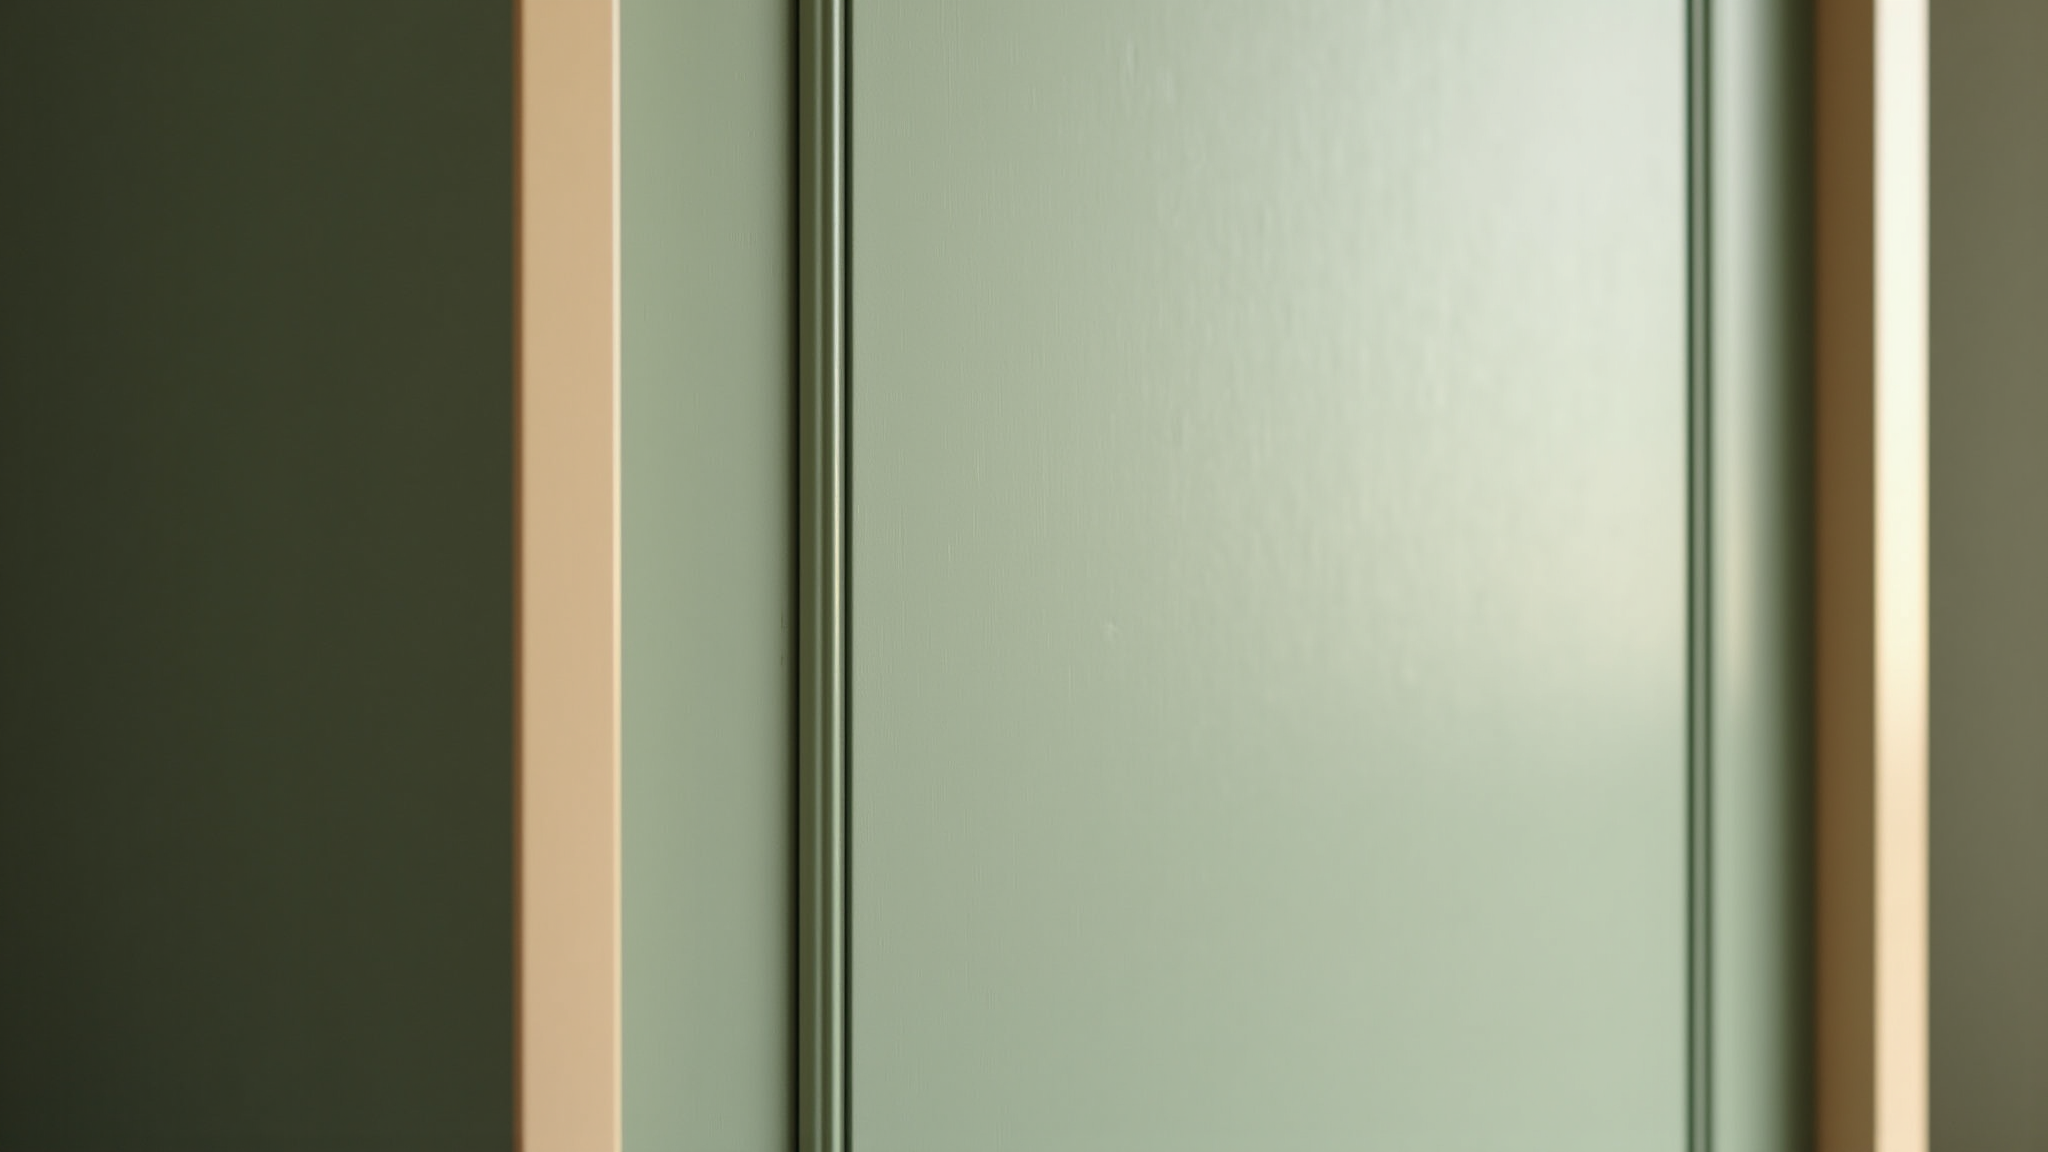
Creating Beautiful Spaces
Our Story
Transforming interiors into stunning works of art, Cab Fab Inc. is dedicated to creating spaces that inspire. With a keen eye for detail and a passion for design, we specialize in resurfacing custom cabinets and furniture that elevate every room. Our team of talented painters and fabricators work closely with clients to bring their vision to life, ensuring each project is a unique reflection of personal style and functionality. Discover the perfect blend of form and function with Cab Fab Inc.
Refinish Process
Refinishing installed cabinets is a (x) step process.
Below is a simple rundown of the fabrication process from start to finish.

Step 1: Setting Up and Disassembly
The first step in the refinishing process involves getting all equipment and tools organized before diving into the actual work. This includes laying out sanding tools, primers, paints, brushes, sprayers, and safety gear. Once everything is prepped and ready, the cabinet doors and drawer fronts are carefully removed from the frames. Hardware such as hinges and handles is also taken off and stored securely for reassembly later. Each door and drawer is labeled to ensure a smooth and accurate reinstall at the end of the process. This initial organization is key to maintaining efficiency and avoiding mistakes during later steps.

Step 2: Preparing the Kitchen and Paint Booth for Sanding
Before any sanding begins, both the kitchen and the designated paint booth area must be properly prepared. In the kitchen, all open cabinet boxes are sealed with tape and plastic sheeting to protect the interiors from dust. The entire kitchen space is also sectioned off from the rest of the home using plastic walls or zip walls, creating a controlled environment that contains dust and debris. Once the area is secure, sanding can begin. At this point, the kitchen becomes a no-go zone for the homeowners as the space is now a dedicated work site.

Step 3: Priming Cabinets and Doors
After sanding is complete and the surfaces are smooth, clean, and ready, the next step is priming. Primer is applied to all cabinet boxes, doors, and drawer fronts. This essential step helps create a uniform base, ensures better paint adhesion, and increases the overall durability of the finish. By using an airless sprayer, care is taken to achieve even coverage and a smooth surface. Once applied, the primer is left to dry thoroughly, often requiring a few hours or overnight, depending on the product used and the environmental conditions.

Step 4: Painting the Cabinets and Doors
With the primer fully cured, it’s time to move on to painting. This step involves applying one or more coats of high-quality paint to both the cabinet frames and all removed doors and drawers. A controlled spray booth is typically used for the doors to ensure a professional, factory-smooth finish. The cabinet boxes are painted in place within the kitchen, using sprayers, fine brushes and rollers. Between coats, proper drying time is observed to avoid any imperfections or tackiness. The end result is a fresh, clean, and modern look that transforms the entire kitchen.

Step 5: Reassembly and Final Touches
Once all the painted pieces are completely dry and cured, the final step is reassembling the kitchen. Cabinet doors and drawer fronts are reattached using the hardware that was previously set aside. Any new hardware, if requested by the homeowners, is installed at this stage. The protective barriers and tape are removed, and the entire area is cleaned and inspected to ensure the quality meets professional standards. The kitchen is then officially handed back to the homeowners—now refreshed, functional, and ready to enjoy.